

Nutanix publishes information for initiatives that help customers integrate the Nutanix platform with other third-party products. Support for these initiatives is handled via the Nutanix community on a best-effort basis. Where open source products are referenced, support is typically provided via GitHub issues in the referenced repositories.
Introduction
With the increase of Cloud Native and microservices, many customers have been shifting net new applications and use cases to containers. Among these are many searching to use containers and GPUs together to gain significant acceleration for compute-intensive, specialized applications.
At Nutanix, we continue to see new and current customers take advantage of Karbon to rapidly configure and deploy Kubernetes clusters as they progress in their cloud native journeys.
Karbon, an integrated component of Nutanix AOS, is a solution that enables IT operators to deliver and manage end-to-end, production-ready Kubernetes environments with push-button simplicity, all while preserving a native user experience.
If you’re familiar with the growth of AI/ML development in recent years, you’re likely aware of leveraging GPUs with Kubernetes to allow you to extend the scalability of K8s to AI/ML applications.
Starting with Karbon version 2.4, we’ve introduced GPU support (passthrough mode) on top of Kubernetes. This will allow Karbon to become the perfect choice to run these kinds of workloads.
Add GPU to your Karbon cluster
Adding GPUs to a Karbon cluster is accomplished through the creation of a new worker node pool with the GPU feature enabled.
Verify the prerequisites
In order to follow this guide, you need an already deployed Karbon Kubernetes cluster.
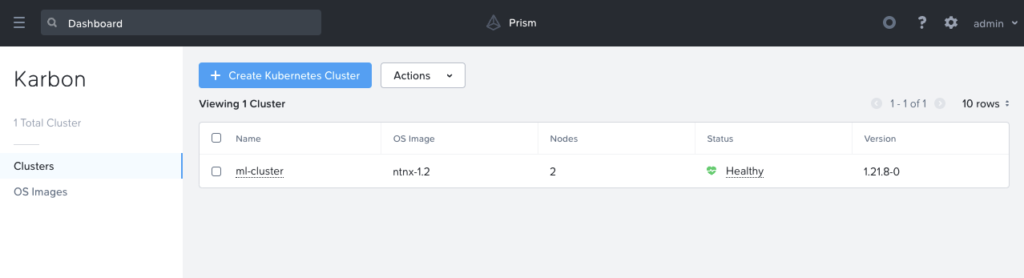
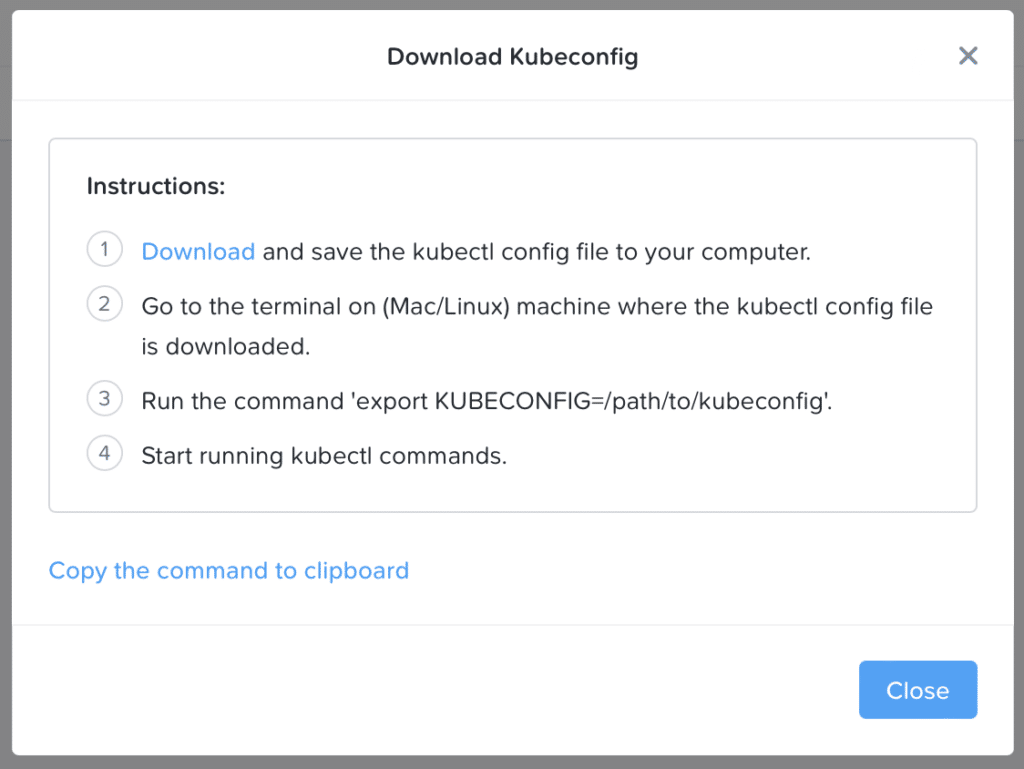
Once the cluster is deployed, you can download the kubeconfig admin file and install it on your workstation. This can be done from the Prism graphical interface or with the karbon kubectl plugin.
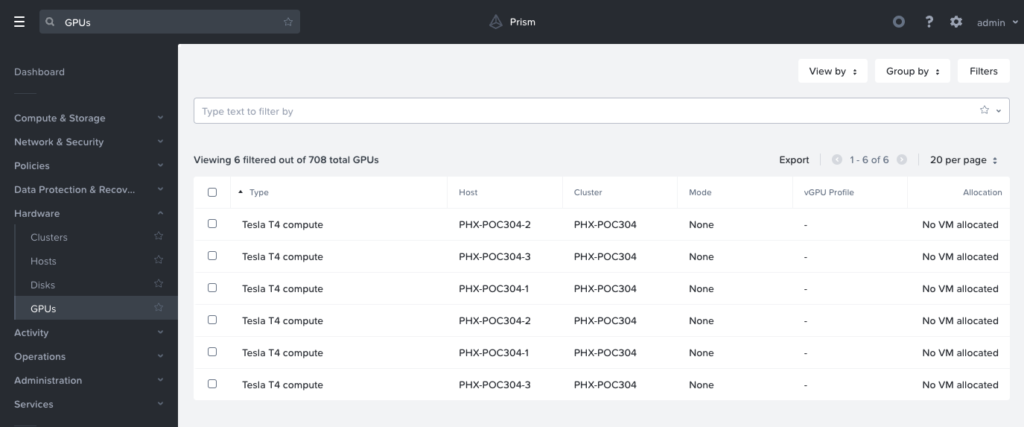
You also need to have one or more unallocated supported NVIDIA GPUs in your Nutanix Cluster.
Creating a GPU enabled worker node pool
For the moment, this action is only possible from the karbonctl command line. UI support is planned for a future release.
Once connected with SSH in your Prism Central instance launch the following command:
- Login to your Nutanix cluster
./karbon/karbonctl login --pc-username admin
- Identify your available GPU
./karbon/karbonctl cluster gpu-inventory list --cluster-name ml-cluster
- Create your new worker pool with GPU enabled
./karbon/karbonctl cluster node-pool add --cluster-name ml-cluster --count 2 --memory 12 --gpu-count 1 --gpu-name "Tesla T4 compute" --node-pool-name gpu
Note that memory was increased to 12G to support the overhead of the NVIDIA GPU Operator and gpu-name corresponds to the name retrieved from gpu-inventory above. Other parameters are standard.
After a few minutes you will see new nodes added to your Karbon Kubernetes cluster.

NVIDIA GPU Operator
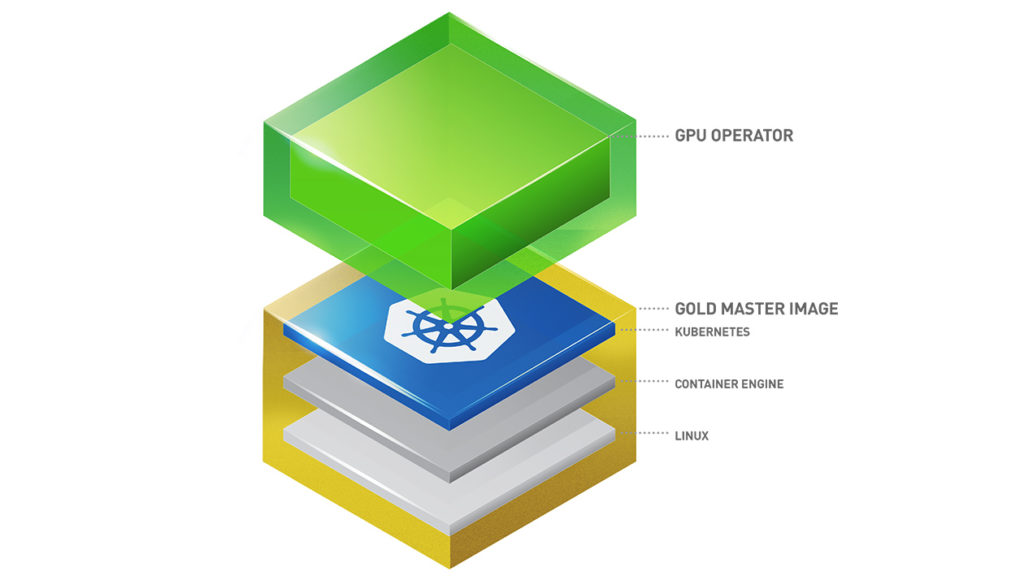
NVIDIA GPU Operator automates the installation, maintenance, and management of all NVIDIA software components needed to provision NVIDIA GPU and provisioning of pods that require nvidia.com/gpu resources. These components include:
- NVIDIA drivers (to enable CUDA which is a parallel computing platform)
- Kubernetes device plugin for GPUs
- NVIDIA Container Runtime
- DCGM (NVIDIA Data Center GPU Manager) based monitoring
- Node Feature Discovery Plugin
Install NVIDIA GPU Operator
The preferred way to install NVIDIA GPU Operator on Karbon is to use Helm (v3+).
Helm installation is easy by following the official documentation.
Next you need to add the NVIDIA Helm repository and install the NVIDIA GPU Operator with the right options for Karbon.
helm repo add nvidia https://nvidia.github.io/gpu-operator && helm repo update

helm install --wait -n gpu-operator --create-namespace gpu-operator nvidia/gpu-operator --set toolkit.version=v1.11.0-centos7
You should replace toolkit.version value with the latest centos7 tag available here.
For more information or to go deeper in NVIDIA GPU Operator settings, visit the official documentation.
Verify GPU Operator Install
Waiting a few minutes, you should see the pods in the gpu-operator namespace running.

You can also verify if the Node Feature Discovery plugin has correctly tagged your GPU enabled worker(s).

Running Sample GPU Applications
Now it is time to launch your first GPU accelerated container.
Let’s run a CUDA load generator, which does an 16 bit floating point matrix-multiply on the GPU using the Tensor Cores
cat << EOF | kubectl create -f -
apiVersion: v1
kind: Pod
metadata:
   name: dcgmproftester
spec:
   restartPolicy: OnFailure
   containers:
   - name: dcgmproftester11
     image: nvidia/samples:dcgmproftester-2.0.10-cuda11.0-ubuntu18.04
     args: ["--no-dcgm-validation", "-t 1004", "-d 30"]
     resources:
       limits:
          nvidia.com/gpu: 1
     securityContext:
       capabilities:
         add: ["SYS_ADMIN"]

EOF
Once the pod is completed, you can check the logs and you will see the FP16 GEMM that turned on the GPU:

You will observe that on this NVIDIA T4, this has resulted in ~26 TFLOPS of FP16 GEMM performance.
Conclusion
GPU acceleration is a rapidly evolving field within Kubernetes. With Karbon 2.4 native GPU support and the NVIDIA GPU Operator, you see how quickly and easily you can leverage GPU to speed up the intensive calculations required for tasks like Deep Learning.
In an upcoming article, you will see how to deploy Machine Learning Toolkit on top of your GPU enabled Karbon Kubernetes cluster.
Addendum: Install GPU Operator in Air-gapped Environments
Inside GPU Operator documentation there is a page about deploying the GPU Operator in clusters with restricted internet access. This procedure was validated with Karbon clusters for the use case 3b – Full Air-Gapped (w/o HTTP Proxy)
By default, GPU Operator requires internet access for the following reasons:
- Container images need to be pulled during GPU Operator installation.
- The
drivercontainer needs to download several OS packages prior to driver installation.
So if we want to support a full Air-Gapped environment we must implement a Local Image Registry and a Local Package Repository.
For the Local Image Registry there is no Karbon particular point of attention, you can follow the official doc and use registry of your choice as you already do for your own containers.
For the Local Package Repository you need to take care of the following points:
- Karbon OS is CentOS 7 based, so you need to build a local package repository using the
reposyncandcreaterepotools from CentOS/RedHat - You need to clone the
baseandupdaterepo on your own infrastructure.
REPO_ROOT=/target/mirror/centos7/
yum install -y yum-utils createrepo

reposync -g -l -d -m -r base -r updates --download-metadata --download_path=$REPO_ROOT
createrepo -v $REPO_ROOT/base
createrepo -v $REPO_ROOT/updates- You need to take care to name your <repo-list-file>
CentOS-Base.repoto correctly override the actual configuration. Content of the file will be:
[base]
name=CentOS-$releasever - Base - Local Mirror
baseurl=http://<REPO_MIRROR>/repo/centos7/base/
gpgcheck=0
enabled=1

[updates]
name=CentOS-$releasever - Updates - Local Mirror
baseurl=http://<REPO_MIRROR>/repo/centos7/updates/
gpgcheck=0
enabled=1- You need to create a Configmap to expose the local package repo mirror to your Karbon node with the file created above.
kubectl create configmap repo-config -n gpu-operator --from-file=CentOS-Base.repoNext you can finish to follow the official Nvidia documentation.
You need to take care to resync your CentOS Updates Local Package Repository (reposync + createrepo) before each Karbon OS Image Upgrade.